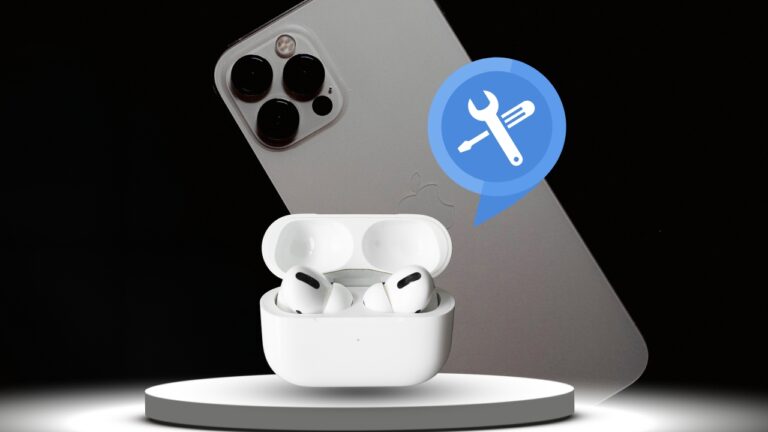
The freedom to roam untethered while on a call, listening to music, or navigating the digital realm—this is the magic that AirPods promise. But what happens when this magic suddenly turns sour, and you find that your AirPods microphone is not working?
Fear not! In this comprehensive guide, we’ll explore 10 tips to get you back on track and ensure that your AirPods are functioning as they should.
The Basics
AirPods Microphone 101
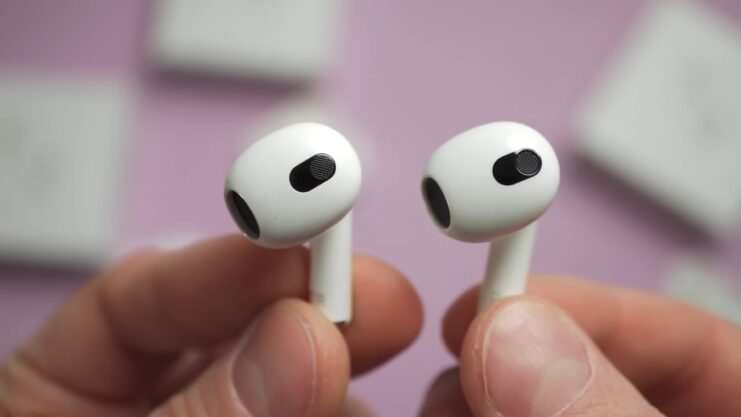
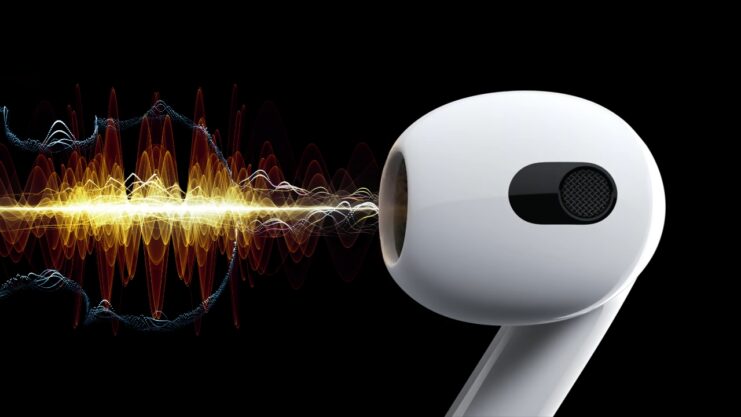
The microphone in your regular or AirPods Pro is more than just a simple input device; it’s a sophisticated component with features like noise cancellation and beamforming. Apple has worked hard to ensure that it functions seamlessly. Understanding its mechanics can give you insight into what might be wrong.
Components That Affect the Microphone
Several things can impact the functionality of your AirPods microphone, from hardware issues to software glitches. If you’re experiencing problems, it’s essential to isolate the issue. Is it a hardware problem like dirt obstructing the microphone, or is it a software issue? Let’s find out.
Why Things Go Wrong
It’s disheartening when technology fails us, especially something as ubiquitous as AirPods. However, a lot of things can interfere with the microphone—from outdated firmware to simple human errors like accidentally muting the mic. Let’s dive into troubleshooting solutions so you can get back to your seamless audio experience.
1. Restart and Reset

Why You Should Try It?
Before diving into more advanced troubleshooting techniques, let’s start with the basics. Restarting your device or resetting your AirPods can resolve a surprising number of issues. Many people skip this step because it seems too simple, but sometimes, that’s all you need.
Restarting Your Device
Rebooting your device—whether it’s an iPhone, iPad, or Mac—can often solve the problem. This process will close all the running applications and refresh the system software, eliminating minor glitches affecting your AirPods microphone.
Steps to Restart
- iPhone/iPad: Press and hold the side button and volume down button until the slider appears. Slide to power off, and then turn it back on.
- Mac: Click on the Apple menu and select “Restart.”
How to Reset
- Place your AirPods in the charging case.
- Open the lid, find the small button on the back of the case, and hold it for 15 seconds until the LED light flashes amber and white.
2. Bluetooth Troubleshooting
Why Bluetooth Matters
Bluetooth is the invisible thread that ties your AirPods to your devices. If this connection is unstable, you may experience issues with the microphone.
Reconnect AirPods to Your Device
Sometimes, the issue isn’t with the AirPods but with the Bluetooth connection. Severing the connection and re-establishing it can resolve these problems.
Steps to Reconnect
- Turn off Bluetooth from your device settings.
- Turn it back on and reconnect your AirPods.
Forget and Re-pair
For a more robust reset of your Bluetooth settings, consider forgetting your AirPods as a known device and then re-pairing them.
How to Forget and Re-pair
- Go to Bluetooth settings on your device.
- Find your AirPods on the list and click “Forget This Device.”
- Re-pair your AirPods by placing them near your device and following the on-screen prompts.
3. Audio Settings Check
The Devil is in the Details
Your device’s audio settings could also be the culprit. You might have accidentally set the microphone input to a different device, or a specific app’s settings might be overriding your preferences.
Checking Global Settings
On an iPhone, go to “Settings” > “Bluetooth,” click the info button next to your AirPods, and make sure the Microphone is set to “Automatically Switch AirPods.” On a Mac, go to “System Preferences” > “Sound” > “Input” and select your AirPods.
Pro Tip
If you notice that the microphone issue occurs with a specific app, check the app’s audio settings. Some apps, like Zoom or Skype, have their own audio settings that can override system settings.
4. Physical Inspection
Dirt and Debris: The Unseen Enemies
You might be surprised how often physical obstructions can mess with your AirPods. Dirt and debris can easily block the microphone and affect its functionality.
How to Clean Your AirPods
Accumulated dirt can severely affect the quality of your microphone. A gentle cleaning can often do wonders.
The Right Way to Clean
- Use a soft, dry, lint-free cloth to clean the microphone and speaker meshes gently.
- For stubborn debris, a dry cotton swab can be effective. However, avoid using sharp objects or liquids.
5. Update Firmware
Why Firmware Matters
Firmware is the foundational software that operates your AirPods. Apple periodically releases updates that can improve performance, fix bugs, and enhance features, including microphone functionality.
How to Check for Firmware Updates
Your AirPods will generally update automatically when connected to an Apple device. However, you can manually check the firmware version by going to “Settings” > “General” > “About” > “AirPods” on your connected iPhone or iPad.
What to Do if an Update is Needed
If you find that your firmware is outdated, place your AirPods in their charging case, connect them to a power source, and then pair them with an iOS device. The update should happen automatically.
6. Microphone Test
The Importance of Testing
Before throwing in the towel and concluding that your AirPods are hopelessly malfunctioning, perform a simple microphone test. This will help you verify whether the problem lies with your AirPods or elsewhere.
How to Conduct a Microphone Test
Use the Voice Memos app on your iPhone or iPad to record a short clip. Listen to it to evaluate the microphone’s quality. If it sounds clear, then your AirPods’ microphone isn’t the issue, and you might need to investigate other possibilities.
Third-Party Applications
If you’re using a Mac, several third-party applications can help you test your microphone. These programs provide more detailed information about your input levels and can help you pinpoint issues.
7. Network Settings
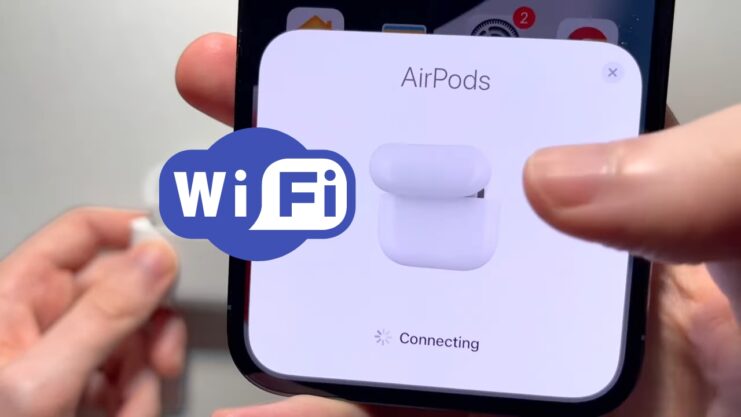
Wi-Fi and Network Interference
Poor network conditions can cause audio issues, including microphone problems. A stable internet connection is crucial for the optimal functioning of your AirPods, especially during calls or video conferences.
What You Can Do
Use a network speed test to confirm if your internet speed is adequate for high-quality audio and video streaming.
Change Wi-Fi Channel
Interference from other wireless devices can affect your connection. Changing the Wi-Fi channel on your router might improve your AirPods’ performance.
8. Check for Software Updates
Staying Updated
Software updates from Apple often come with fixes for known issues. If your AirPods microphone is not working, it’s worth checking if there is a software update available for your connected device.
How to Update
iOS Devices
Go to “Settings” > “General” > “Software Update.” If an update is available, follow the on-screen instructions.
Mac
Go to “System Preferences” > “Software Update.” If an update is available, you’ll be prompted to download and install it.
9. Battery Check
Why Battery Health Matters
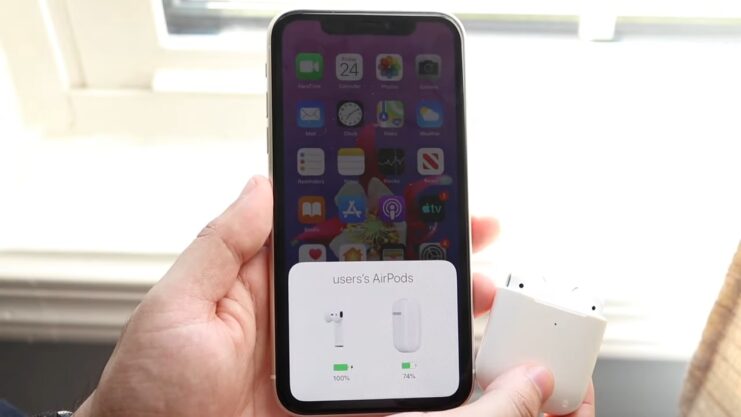
A failing battery can result in suboptimal performance, including microphone issues. Make sure your AirPods are adequately charged.
How to Check Battery
iOS Devices
You can check your AirPods’ battery life by opening the lid of their charging case near your iPhone or iPad. A pop-up will display the battery levels.
Mac
On a Mac, hover your cursor over the Bluetooth icon in the menu bar. You’ll see your AirPods listed, along with their battery percentage.
10. Seek Professional Help
When to Consult Experts
If you’ve tried everything and are still experiencing issues, it may be time to consult with professionals. Your AirPods could have a hardware issue requiring expert attention.
What Are Your Options?
Apple Support
The first place to go is Apple Support. If your AirPods are still under warranty, you may get a free repair or replacement.
Third-Party Technicians
If your warranty has expired, third-party service providers can also diagnose and fix issues, often at a lower price.
FAQs
Why is my AirPods microphone not working?
The issue could be due to various factors, such as dirt inside the microphone holes, incorrectly configured settings, or minor software bugs. People may complain that your voice sounds muffled or crackling during calls.
How can I reconnect my AirPods to fix the microphone issue?
Place both earbuds in their charging case and take them out again to establish a fresh connection with your iPhone. Make sure your AirPods are charged at least 30 minutes before trying again.
How do I clean the microphone mesh on my AirPods?
Use a cotton swab sprayed with rubbing alcohol to gently dab away on the microphone mesh. You can also use a toothpick or tweezers to pry out any particles, taking extra care not to damage the mesh grill.
Should I turn off noise cancellation?
Yes, turning off noise cancellation can sometimes improve the microphone’s audio quality. You can do this from the Control Center on your iPhone.
What should I do if my AirPods have water damage?
Wipe them down with a soft, dry, and lint-free cloth. Never use heat or compressed air to dry your AirPods.
How do I check my active microphone settings?
Go to the Settings app on your iPhone and select your AirPods. Choose the Microphone option and then select “Automatically Switch AirPods” to ensure both microphones are used.
How do I update the AirPods firmware?
Your AirPods will automatically update when they are in their charging case next to a paired iPhone connected to the internet. You can check the current firmware version in the Settings app on your iPhone.
Should I restart my iPhone?
Yes, restarting your iPhone can resolve random connectivity issues that might be affecting the microphone on your AirPods.
How do I reset and pair my AirPods again?
Place both AirPods in their charging case and press and hold the Status button on the back until the LED status indicator turns amber. Then, reconnect them to your iPhone.
What if none of the above solutions work?
If all else fails, your AirPods may be defective. Contact Apple Support or book an appointment at the nearest Apple store for repairs or a replacement.
Final Thoughts
There you have it—10 comprehensive tips to fix your AirPods issues. Technology can be a fickle friend, but with these steps, you’ll be well-prepared to troubleshoot any microphone problems that come your way. Remember, when in doubt, it’s always good to consult with professionals.
Related Posts:
- Flashlight Not Working on Android Phone? 5 Steps to Fix It
- Apple AirPods Pro 2024 - Still Leading AirPods Family
- Why Do My Airpods Keep Cutting Out? Tips for Smooth…
- GPU Fans Not Spinning: Main Causes and How to Fix Them
- How to Fix CPU Fan Error on Boot Time? - Quick Fix Tutorial
- Xiaomi Is Working On A New 360-Degree Display Phone…

